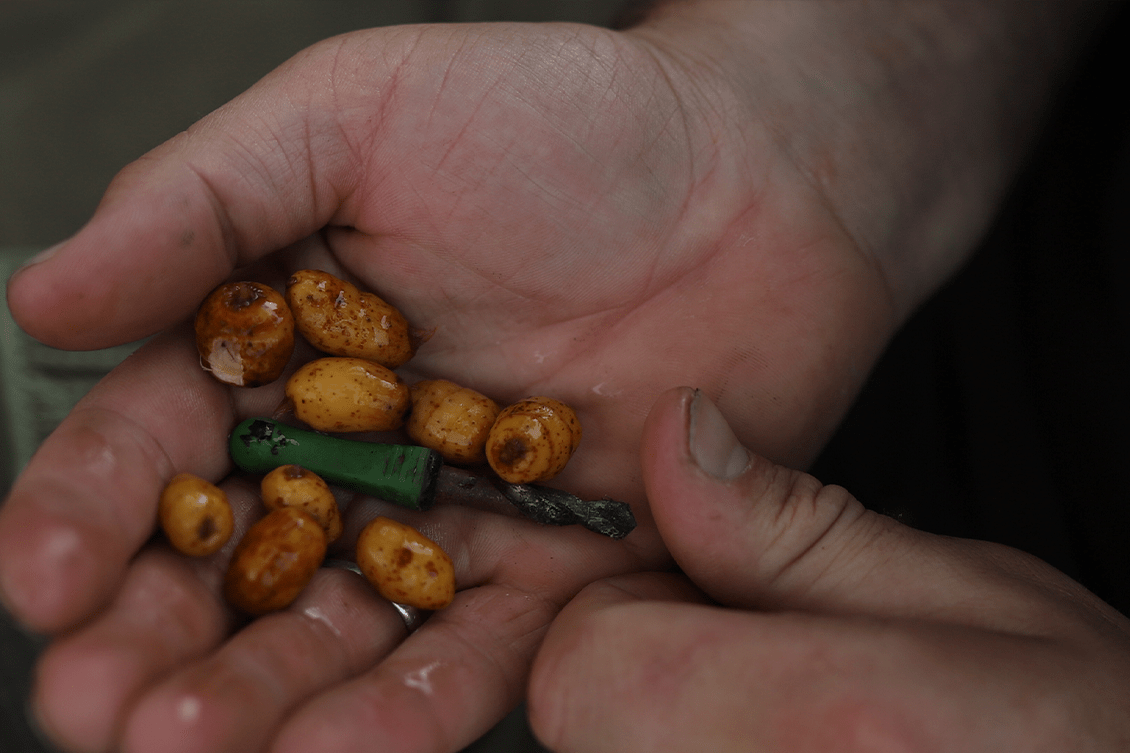
Tom Maker discusses how he puts together his perfect solid bag mix, and why the method is so deadly!
Tom Maker discusses how he puts together his perfect solid bag mix, and why the method is so deadly!
It often baffles me how long solid bags have been in existence, yet they only seem to have become very popular over the last few years. It is so easy to see why, they offer so much in such a small package! In short, they give you perfect presentation and combine this with a tantalising patch of food, that is not only packed with attraction, but also camouflages the rig at the same time.
Of course, solid bags will work 365 days a year on most venues, but I find them particularly useful in the spring months. As the water is warmed with the extra heat in the sun, the carp become far more active. Through experience, I have found them to be a little slow on the uptake of vast amounts of bait and they also tend to move around an awful lot, mostly chasing the sun. As a result, the small pile of attraction that a solid bag represents is irresistible and gives you the best chance of tripping a carp up.


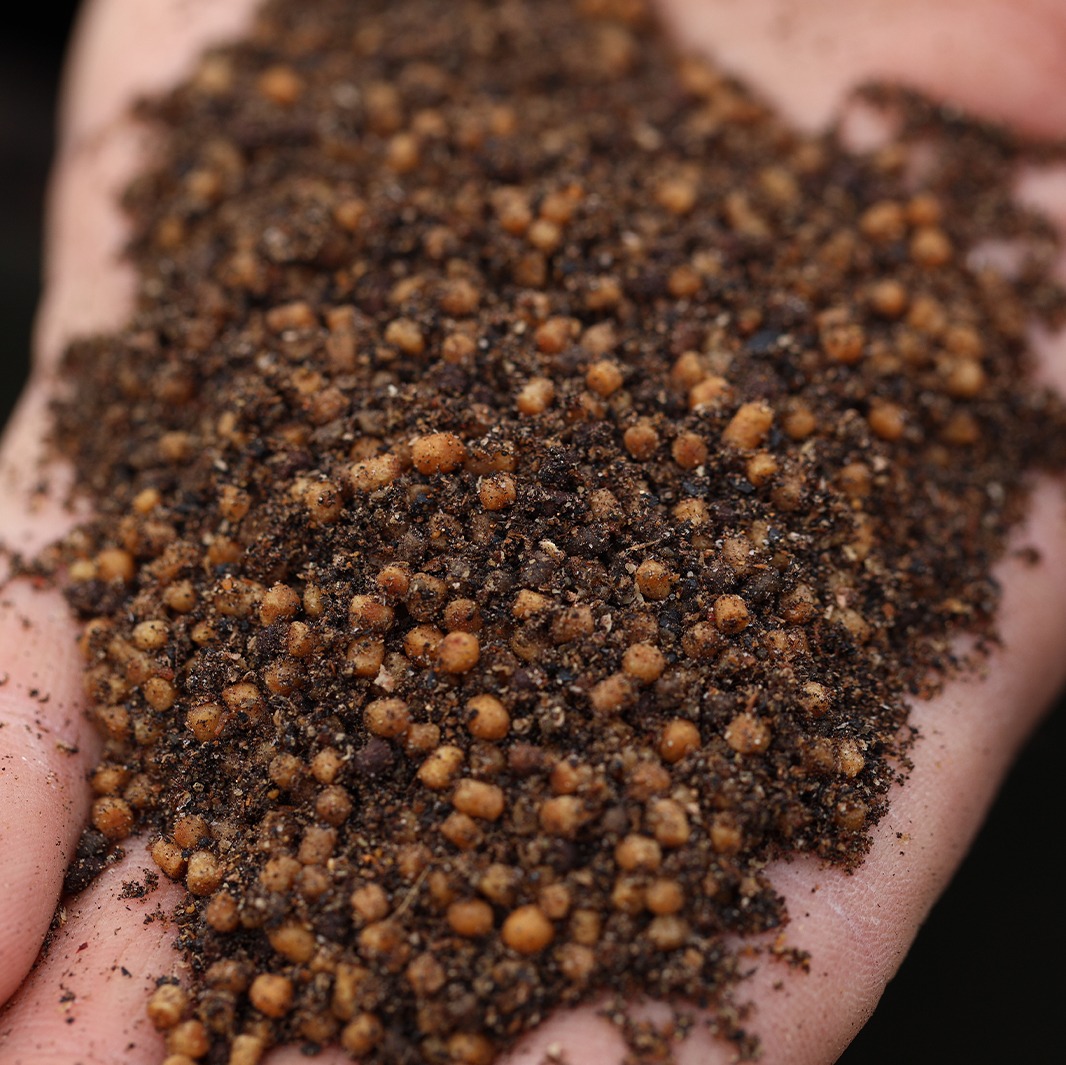
What goes into a solid bag is very important in my eyes, and the biggest mistake I see people make is using baits that are too large. In reality, larger boilies and pellets can be used at short range with solid bags quite easily, but if you want to be super accurate and fish them at any degree of range, then small items are best. My preferred mixture is made up of both Bloodworm and Manilla pellets as a base. In the 2.3mm size they are perfect for a solid bag, and the contrasting colours go really well together. On top of this I add some Bloodworm Active Mix. This serves a number of purposes, the first being, it fills any unwanted gaps in the finished bag to ensure it stays as compact as possible. As well as this, the Active Mix pulses off attraction, with small particles coming up from the bag, helping to draw carp downwards. The reason I use Bloodworm Active mix as opposed to something like Manilla is simply the dark colour, it’s something match anglers do an awful lot and I think it helps make your bag look a bit less obvious.
Liquids also play a part in my solid bags, and unlike a lot of people out there, I don’t use oils. I find soluble, PVA friendly liquids much more appealing to the fish, such as Pure Calanus Liquid. This spreads out in a carpet away from the bag, forming a halo of attraction around it, whilst not actually offering food items to fill the carp up.

Liquids also play a part in my solid bags, and unlike a lot of people out there, I don’t use oils. I find soluble, PVA friendly liquids much more appealing to the fish, such as Pure Calanus Liquid. This spreads out in a carpet away from the bag, forming a halo of attraction around it, whilst not actually offering food items to fill the carp up.
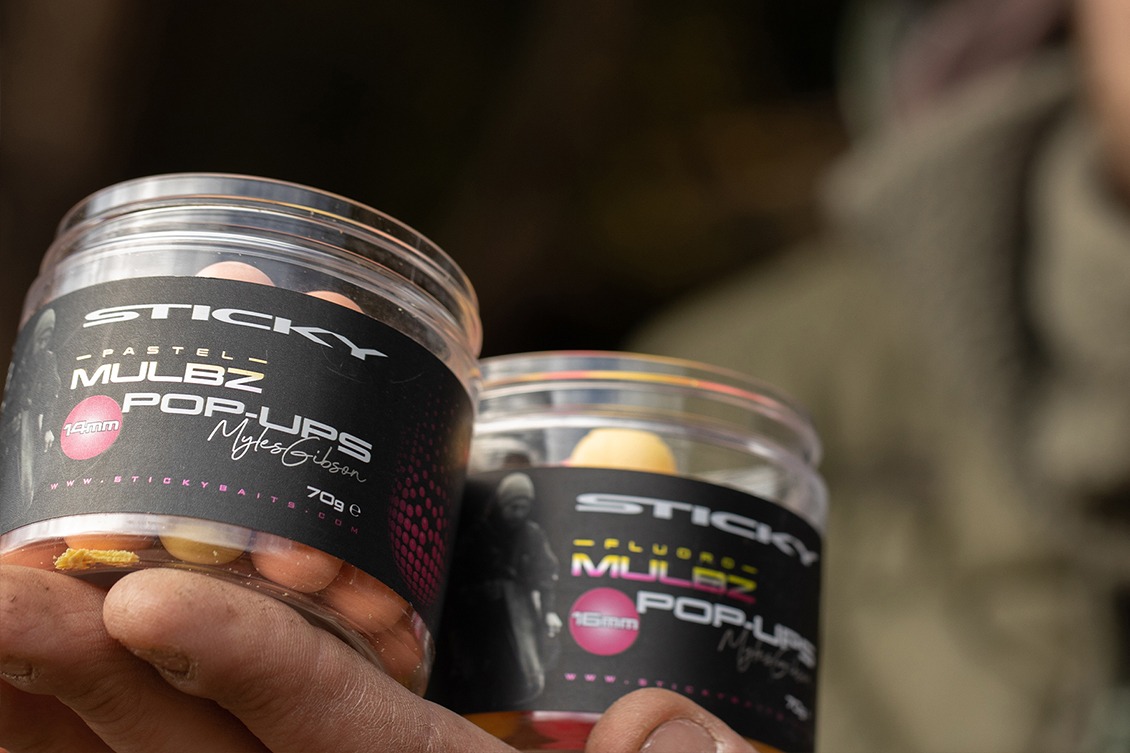
In terms of hookbaits, I have always found an element of buoyancy to be your friend in this instance. It helps the hookbait to push its way out of the pellets and Active Mix within the bag and sit nicely proud on the top. If you use a bottom bait, it can become buried and could lead to the carp figuring out the trap before it has even found the hookbait, which of course, is a disaster! To help alleviate this, I use a fluoro hookbait that perfectly contrasts the bait underneath it. They stand out like a beacon amongst the feed and ensure they are the first thing picked up by the fish.


In terms of hookbaits, I have always found an element of buoyancy to be your friend in this instance. It helps the hookbait to push its way out of the pellets and Active Mix within the bag and sit nicely proud on the top. If you use a bottom bait, it can become buried and could lead to the carp figuring out the trap before it has even found the hookbait, which of course, is a disaster! To help alleviate this, I use a fluoro hookbait that perfectly contrasts the bait underneath it. They stand out like a beacon amongst the feed and ensure they are the first thing picked up by the fish.
The real beauty of solid bags is how quick they can make you angle. As I don’t use any oil, you can keep these bags tied up for a couple of days in advance if you really want. By using a loop-to-loop connection to your main line, you can simply loop on another bag in seconds, and get your rod straight back out there. I use any down time in a session to knock up a few bags in readiness for a few bites. This without doubt helps me to capitalise on any given opportunity and make the most of the often-short feeding spells in the early spring.

TOP 5 QUICK SOLID BAG TIPS
TYING THE PERFECT SOLID BAG
with Tom Maker


STEP 1
Have your chosen rig ready, I like to keep it simple with a single pop-up which can be trimmed to balance it.
STEP 2
Add a tiny amount of your solid bag mix into the bottom of a PVA bag.
STEP 3
Carefully drop your rig into the PVA bag, ensuring the rig remains neat inside the bag


STEP 4
While holding the lead, add more of your mix into the bag to cover the hookbait.
STEP 5
Once the bag is almost half-full, drop the lead into the bag, ensuring it sits in the centre.
STEP 6
Continue to fill the bag, covering the inline lead and tapping the bag as you go, to distribute the mix evenly.


STEP 7
Tighten down on the bag, getting rid of any trapped air, then compress it using the palm of your hand.
STEP 8
Twist the top of the bag until the bag is tight and contents remain compact.
STEP 9
While keeping a tight hold, tie the top off using some PVA tape.


STEP 10
When you are happy your bag is secure, use scissors to trim and neaten the top of the bag.
STEP 11
Lastly, neaten the bottom corners of the PVA bag by licking them and sticking them down.
THE FINISHEDSOLID BAG

STEP 1
Have your chosen rig ready, I like to keep it simple with a single pop-up which can be trimmed to balance it.

STEP 2
Add a tiny amount of your solid bag mix into the bottom of a PVA bag.

STEP 3
Carefully drop your rig into the PVA bag, ensuring the rig remains neat inside the bag

STEP 4
While holding the lead, add more of your mix into the bag to cover the hookbait.

STEP 5
Once the bag is almost half-full, drop the lead into the bag, ensuring it sits in the centre.

STEP 6
Continue to fill the bag, covering the inline lead and tapping the bag as you go, to distribute the mix evenly.

STEP 7
Tighten down on the bag, getting rid of any trapped air, then compress it using the palm of your hand.

STEP 8
Twist the top of the bag until the bag is tight and contents remain compact.

STEP 9
While keeping a tight hold, tie the top off using some PVA tape.

STEP 10
When you are happy your bag is secure, use scissors to trim and neaten the top of the bag.

STEP 11
Lastly, neaten the bottom corners of the PVA bag by licking them and sticking them down.


